
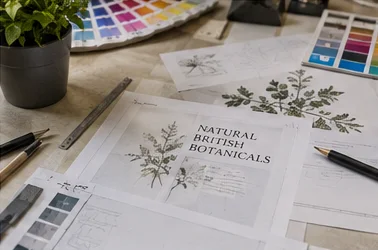
Artwork guide
Artwork for print: start here
A practical route from idea to approved print file.
Read the guide →Plain-English guidance on bleed, colour, resolution, PDF export, proofs and product-specific artwork, written for people preparing real jobs.
Use the same image-quality checks alongside every guide in this library, from bleed and typography to colour, binding and final approval.
Artwork requests often say “DPI”. For photographs, check effective PPI (pixels per inch) at the size actually printed. Printer DPI measures ink or imaging dots and is a different number.
Use 300 PPI at finished size as the working target for photographs in leaflets, cards, booklets and similar material. Ask for a quality assessment if the source falls below the agreed specification.
150 PPI at finished size can be a practical starting point for posters or banners viewed from farther away. Close-up detail may need more. Confirm the acceptable minimum for the material, process and viewing distance.
Worked size check: A cropped product photograph in a campaign leaflet with 2,400 retained pixels across 8 inches gives 300 effective PPI. At 16 inches wide, the same pixels give 150 PPI. Calculate both dimensions after the crop. A 1:10 layout enlarges tenfold, so divide the image PPI in that layout by ten at output. Changing a metadata field to “300 DPI” does not restore lost detail.
Read the image-resolution guide → Technical references: Adobe resolution guidance · Effective PPI in InDesign
You do not need to read every guide before making a simple print enquiry. Start with the decision holding up the job, resolve it, then check the exported file as a whole. The sequence below connects the online explanations rather than treating them as unrelated definitions.
Open the original image, identify the crop you intend to keep and measure its placement in the finished piece. The resolution guide turns retained pixels and physical size into effective PPI. Check focus and compression as well as the number. Reducing the placement may be more useful than enlarging the file without adding captured detail.
Read bleed, trim and safe area before exporting. The background has to exist beyond the cut; choosing a bleed value in the export settings cannot create it. Check each edge of the PDF and keep essential content inside the allowance appropriate to the product.
Choose the finished format and binding first. The booklet planner explains reading order and page planning. For a leaflet, make a folded blank and mark the cover and panel sequence before placing text. An attractive flat spread can still put a contact panel on the wrong side.
Use the colour guide to agree the intended output and proof. Keep a suitable reference and explain which colour is critical. Review photographic detail separately: a colour conversion cannot repair an image that lacks enough pixels at the chosen size.
Follow PDF export, then the final proof checklist. Reopen the actual exported version, check page boxes and fonts, inspect the smallest text and largest photograph, and confirm the wording with its owner. Save the approved revision with the order specification.
For an unfamiliar product, ask the Warrington team about the intended size and finish before building the final layout. When you need a paper checklist beside the screen, use the separate PDF download library.
Use these guides to prepare a better brief and catch common file problems. Exact print specifications depend on the product; confirm them with the team before export.
A practical route from idea to approved print file.
Read the guide →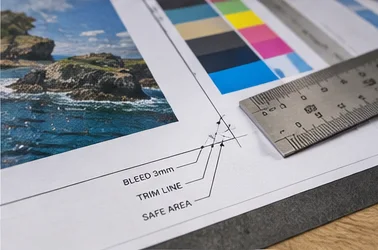
Three boundaries prevent white slivers and clipped information.
Read the guide →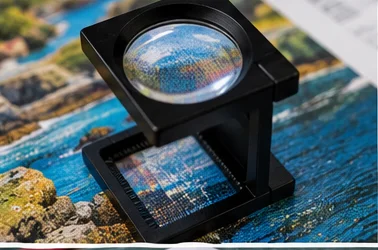
Judge image detail at the size people will actually see it.
Read the guide →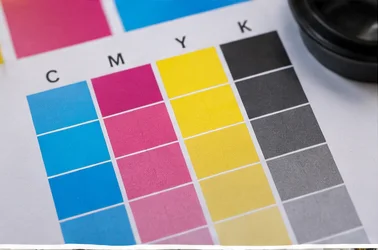
Make colour decisions before the final proof, especially when matching a brand.
Read the guide →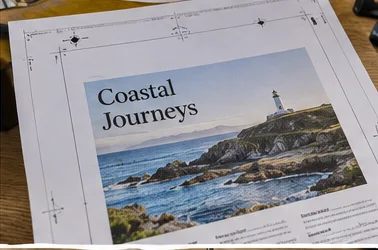
A clear export makes checks faster and reduces avoidable rework.
Read the guide →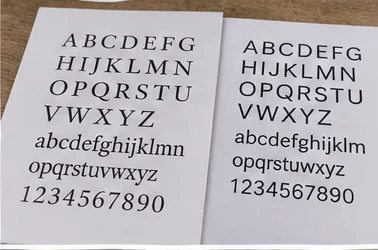
Make the important details readable in the finished item.
Read the guide →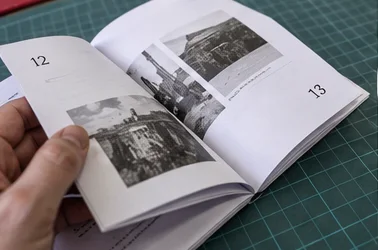
Plan the binding and page order before the design is locked.
Read the guide →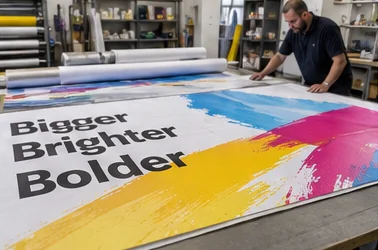
Design for the place and distance where the banner will be read.
Read the guide →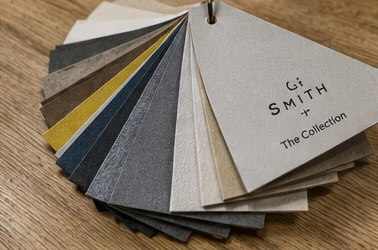
The right stock supports how the piece will be held, written on and kept.
Read the guide →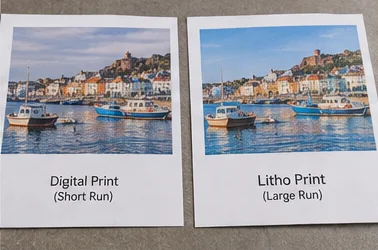
Compare processes around run length, versioning, stock, deadline and finish.
Read the guide →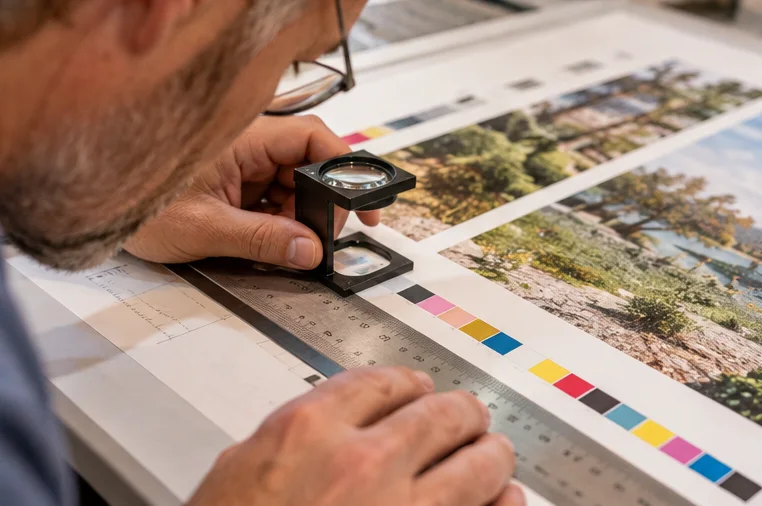
A few deliberate minutes of proofing prevent expensive and embarrassing mistakes.
Read the guide →
A complete brief gets you a useful answer faster.
Read the guide →Original PDF guides for file preparation, page planning, colour and final proofing.
Artwork and print guides. Send the intended print size and the file you are working with so we can discuss the relevant production checks.